Savor the Flavor – Try Our Best Recipes Today!

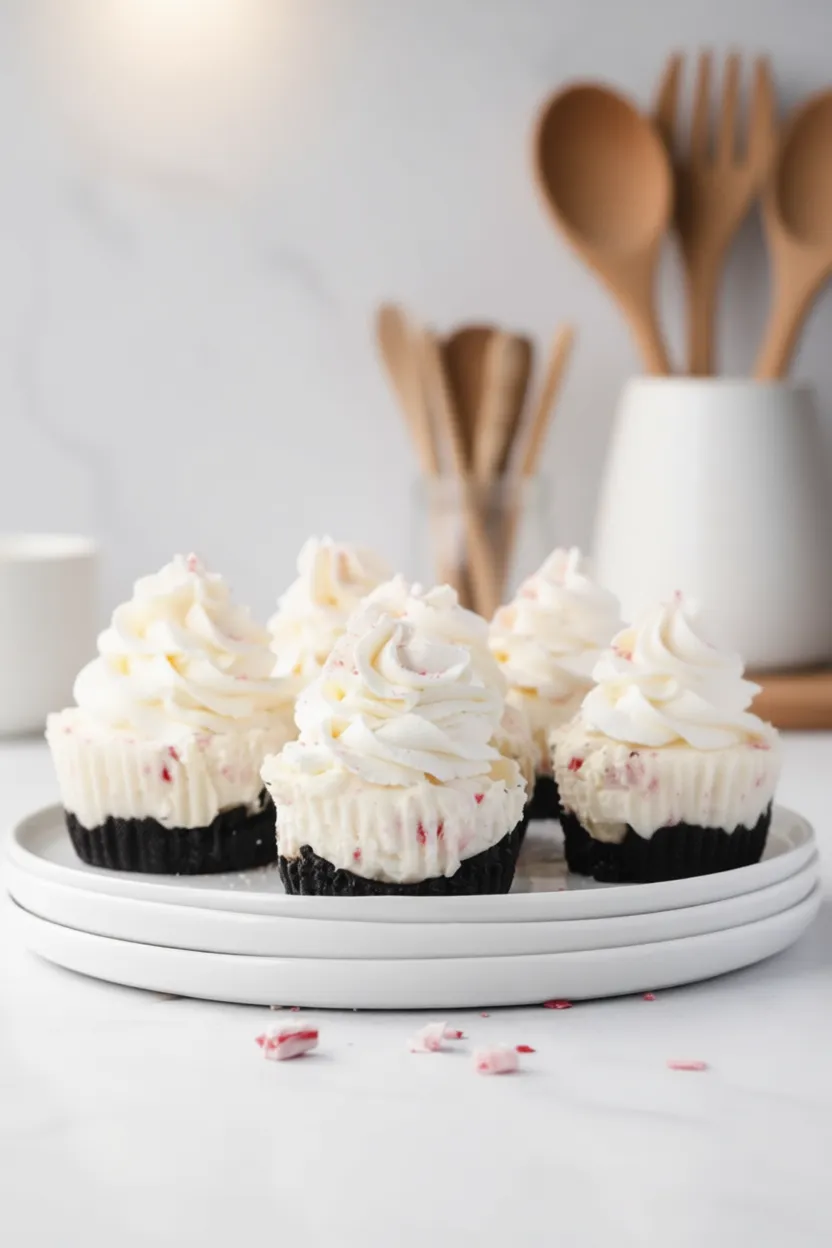
No-bake peppermint cheesecakes
If you love creamy desserts with a holiday twist, these No-Bake Peppermint Cheesecakes are your dream come true. They’re silky, festive, and beautifully flavored with cool peppermint and rich cream cheese — all layered over a buttery chocolate crust. Best of all? No oven required!
Whether you’re hosting a Christmas party, bringing dessert to a potluck, or just craving something sweet and seasonal, these mini cheesecakes deliver everything you love about classic cheesecake — without the stress of baking.
🎄 Why You’ll Love This Recipe
There’s something magical about a dessert that looks fancy but comes together effortlessly. Here’s why you’ll fall in love with these No-Bake Peppermint Cheesecakes:
- No baking needed: Skip the oven and water bath — these chill to perfection in the fridge.
- Perfectly festive flavor: Cool peppermint and creamy vanilla make every bite taste like the holidays.
- Great for parties: Mini servings are adorable, easy to serve, and always impress guests.
- Make-ahead friendly: Prepare them a day in advance, and they’ll be even better when chilled.
🍫 Ingredients You’ll Need
These cheesecakes use simple ingredients you can find anywhere, yet the result feels gourmet and special.
🧁 For the Crust:
- 1 ½ cups crushed chocolate sandwich cookies (like Oreos)
- 4 tablespoons melted butter
🍥 For the Cheesecake Filling:
- 16 oz (450 g) cream cheese, softened
- ¾ cup powdered sugar
- 1 teaspoon vanilla extract
- 1 teaspoon peppermint extract
- 1 ½ cups heavy whipping cream
- Red food coloring (optional, for swirl effect)
- Crushed candy canes, for garnish
🥣 How to Make No-Bake Peppermint Cheesecakes
Step 1: Prepare the Crust
In a medium bowl, mix the crushed cookies and melted butter until well combined. Press about 2 tablespoons of the mixture into the bottom of each serving cup or small jar. Use the back of a spoon to pack it firmly.
Refrigerate the crusts while you prepare the filling.
Step 2: Make the Cheesecake Filling
In a large mixing bowl, beat the softened cream cheese with powdered sugar until smooth and creamy. Add vanilla and peppermint extract and continue mixing until fully incorporated.
In a separate bowl, whip the heavy cream to stiff peaks. Gently fold the whipped cream into the cream cheese mixture until fluffy and smooth.
Step 3: Create a Peppermint Swirl (Optional but Fun!)
Divide the filling in half. Add a few drops of red food coloring to one half and gently stir until you get a soft pink color. Layer the white and pink filling alternately in each cup, then use a toothpick to swirl the colors for a candy-cane look.
Step 4: Assemble and Chill
Spoon or pipe the cheesecake filling over the prepared crusts, smoothing the tops. Refrigerate for at least 3 hours, or until firm and set.
Just before serving, sprinkle each cheesecake with crushed candy canes for that festive sparkle.
🍰 Serving Suggestions
These mini cheesecakes are a holiday showstopper on any dessert table. Here’s how to serve them beautifully:
- Top with a swirl of whipped cream and extra crushed peppermint for a snowy effect.
- Garnish with mini candy canes or chocolate curls.
- Serve them in clear jars or glasses for a stunning layered look.
- Add a drizzle of melted chocolate or white chocolate for extra decadence.
They pair wonderfully with a mug of hot cocoa, peppermint mocha, or even a cup of espresso after dinner.
❄️ Tips for Success
Want your cheesecakes to come out perfect every time? Here are a few tried-and-true tips:
- Use room temperature cream cheese: This ensures a smooth, lump-free filling.
- Don’t overmix: Fold the whipped cream gently to keep the filling light and airy.
- Chill thoroughly: The longer they chill, the firmer and creamier the texture becomes.
- Crush candy canes right before serving: This keeps them from melting or getting sticky.
- Play with layers: You can alternate colors, add chocolate ganache, or top with crushed cookies.
🎅 Variations to Try
These cheesecakes are incredibly versatile — here are some creative twists:
- 🍫 Chocolate Peppermint Cheesecake: Add 2 tablespoons of cocoa powder to the filling for a rich chocolate flavor.
- ☕ Mocha Peppermint Cheesecake: Stir in a teaspoon of instant espresso powder for a subtle coffee kick.
- 🍓 Strawberry Peppermint Cheesecake: Replace peppermint extract with strawberry extract for a fruity twist.
- 🥥 Dairy-Free Version: Use vegan cream cheese and coconut whipped cream for a lighter alternative.
🧊 Storage and Make-Ahead Tips
These cheesecakes are perfect for prepping ahead of time — they taste even better once chilled.
- Refrigerate: Store in the fridge, covered, for up to 4 days.
- Freeze: You can freeze them (without the candy topping) for up to 1 month. Thaw overnight in the fridge before serving.
- Prep ahead: Make them a day in advance for stress-free entertaining.
❤️ Why This Recipe Works
This No-Bake Peppermint Cheesecake recipe strikes the perfect balance between creamy and refreshing. The peppermint flavor isn’t overpowering — it’s cool and smooth, blending beautifully with the rich cream cheese and buttery chocolate crust.
It’s an easy, foolproof dessert that delivers big flavor and holiday cheer without needing to turn on the oven. Every spoonful feels like a bite of Christmas magic — creamy, minty, and melt-in-your-mouth good.
🎁 Make It Festive
If you’re gifting these cheesecakes or serving them at a party, here are a few presentation ideas:
- Serve in mini mason jars tied with red ribbon.
- Decorate with crushed peppermint hearts or sprinkles.
- Add small “Merry Christmas” toppers or edible glitter for sparkle.
- Present them on a white tray with evergreen sprigs for a cozy winter touch.
✨ Final Thoughts
There’s something special about a no-bake dessert that delivers all the joy of cheesecake with half the effort. These No-Bake Peppermint Cheesecakes are smooth, festive, and irresistibly creamy — a perfect make-ahead treat for the holidays or any chilly evening when you need a little sweetness.
Serve them at your next holiday gathering, gift them to loved ones, or enjoy one by the fire while watching your favorite Christmas movie. However you choose to savor them, one thing’s for sure — they’ll become a holiday tradition you’ll look forward to year after year.